
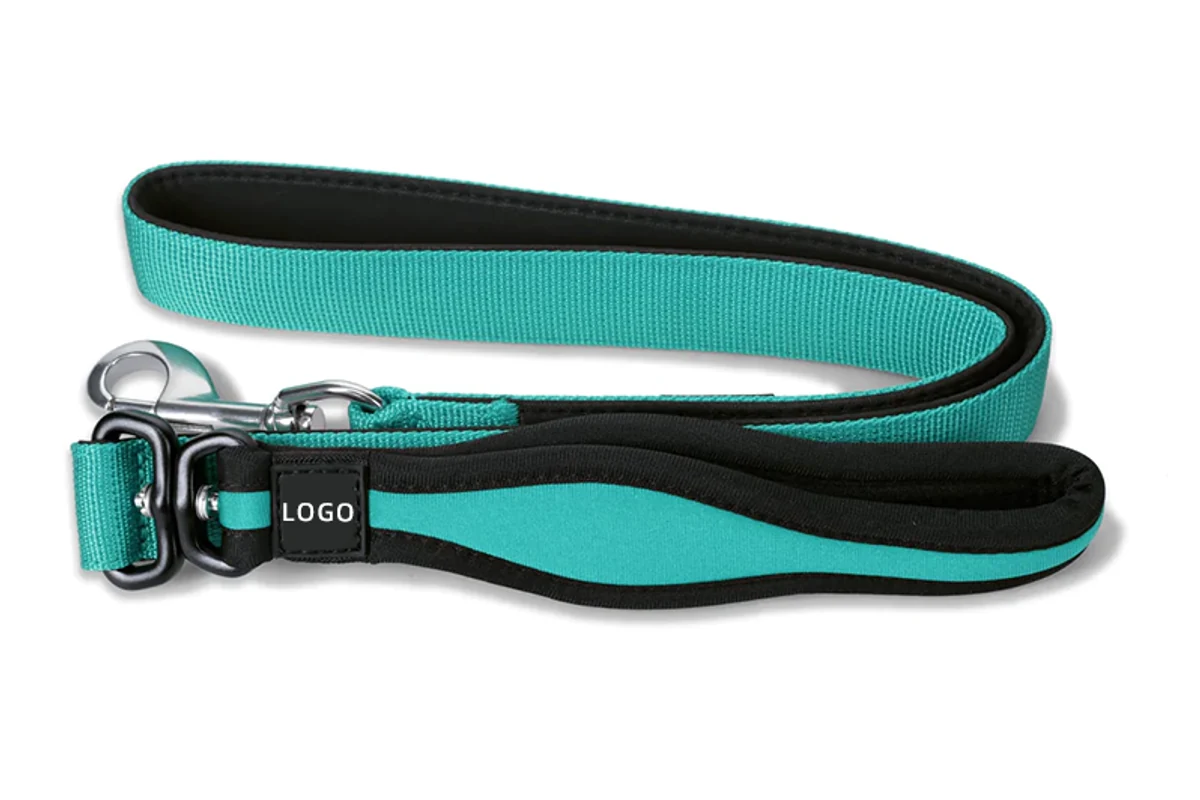
Choose a logo method after choosing where the logo will sit. A design running along flat webbing, a small label beside a rope handle and a mark on a metal fitting need different approaches. Match the method to that surface, the finished artwork size and your order quantity, then approve the result on a physical sample.
There is no single best logo method for every custom dog leash. The useful choice is the one that keeps your brand readable and fits the actual product construction. This guide covers five methods we can discuss for suitable projects at WiseLeash.
Compare Five Logo Methods
Use this table to narrow the options before requesting a sample. It is a design guide, not a promise that every method works on every material or at the standard minimum quantity.
| Method | A useful starting point | What to confirm |
|---|---|---|
| Screen printing | A defined logo or repeat on suitable flat webbing. | Colors, fine detail, coverage and compatibility with the strap surface. |
| Heat transfer | A multicolor design or artwork with gradients on a suitable surface. | The specific transfer process, base material, heat compatibility and finished feel. |
| Woven label | A separate brand label attached at an agreed position. | Label size, readable detail, fold, attachment and the visible area after sewing. |
| Embroidery | A stitched logo on suitable webbing or a fabric handle area. | Available space, stitch detail, backing and the feel on the finished handle. |
| Metal laser marking | A compact mark on a suitable metal fitting. | Metal and finish, usable area, orientation and the appearance of the mark. |
Start with one main brand location. If you also want a branded hangtag or pack, list it separately so the quotation identifies each item. A prominent strap logo and a small hardware mark serve different purposes and should not share an undefined “add logo” instruction.
Start with the Surface and Visible Area
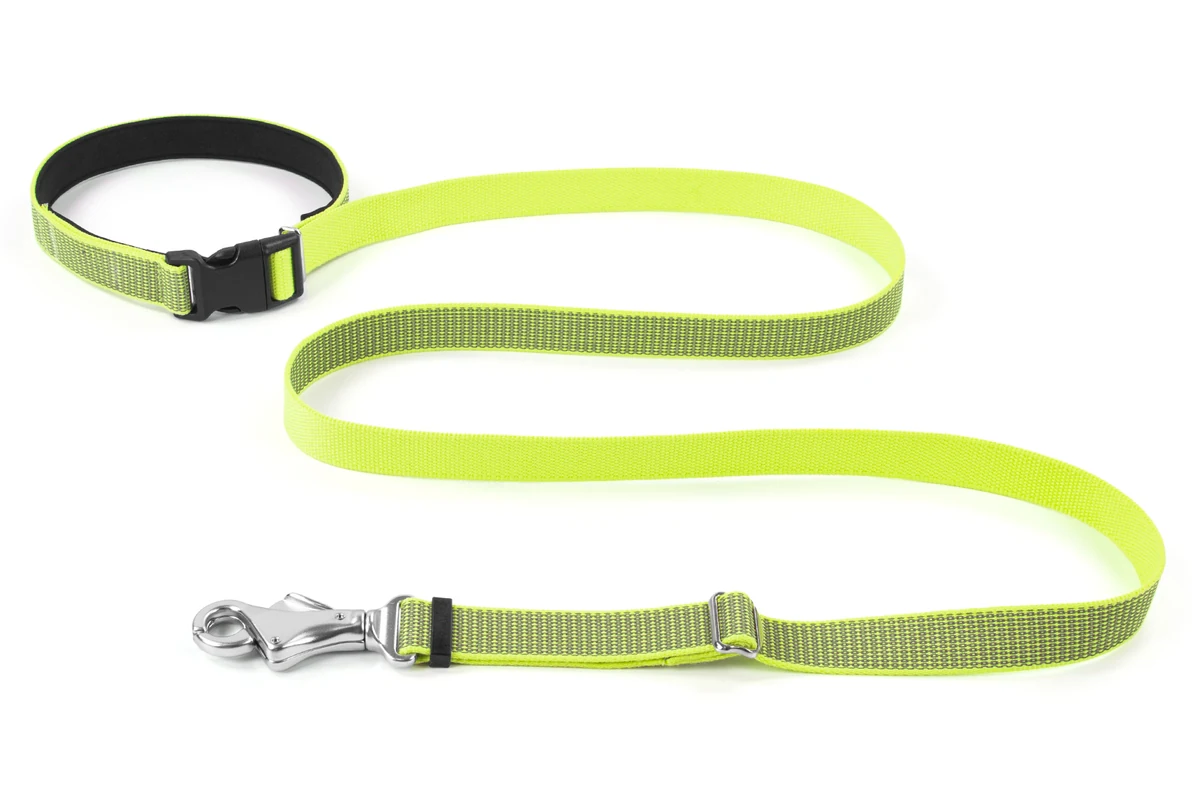
Send a photo or drawing with the proposed logo location marked. For flat webbing, identify the face, the distance from a handle seam or fitting, and whether the design appears once or repeats. The full strap width is not automatically usable artwork space; edges, stitching and folded sections affect what remains visible.
For a rope leash, discuss a label, a suitable handle area, a tag or a metal component. A curved rope body does not provide the same continuous flat face as webbing. If you are still choosing the construction, our rope and flat webbing comparison explains those differences.
Consider the product in use and in its packaging. A logo can look clear on a flat drawing but disappear inside a handle fold or behind a retail card. Ask for the proposed location to be shown on the assembled product, including which way the name reads when the leash hangs or is held.
Screen Printing or Heat Transfer?
For suitable webbing, screen printing is a starting point for a simple logo with defined colors. Our product guidance favors heat transfer when full-color artwork or gradients are important. These are starting choices: fine lettering, the strap color and the material can change which process is practical.
Ask what the proposed transfer method actually is. “Heat transfer” is a broad description, so do not assume that every proposal means dye sublimation or produces the same surface feel. Confirm the process, material and finish together, especially for coated straps or assemblies that contain different materials.
Transfer suppliers publish product-specific compatibility guidance. For example, STAHLS’ Thermo-GRIP information names the fabrics that product is intended for. The practical takeaway is to check the chosen transfer against the actual strap and finish, not to assume every transfer works on every leash.
Review a sample made on the selected strap color and material. Check the smallest letters, color contrast, edges and how the decorated area feels when the strap bends. If the design repeats, confirm its spacing and what happens near the handle seam and hook connection. A successful print on a different fabric is not approval for this leash.
Woven Labels, Embroidery or Metal Marking?
Woven labels create a separate branding element. Specify the overall label size and the part that remains visible after folding or sewing. A label that looks spacious in an artwork file may have little room left for the brand name once its attachment area is included.
Embroidery builds the design with stitches on a suitable textile area. Review the lettering and small shapes at their actual finished size. On a handle, also examine the back of the decorated area and the surfaces that touch the hand. Do not choose it only because the enlarged digital mockup looks detailed.
Dutch Label Shop’s explanation of woven and embroidered construction distinguishes a design formed by weaving from stitches added to an existing fabric. For your leash, confirm both the appearance and how the chosen textile element will be incorporated.
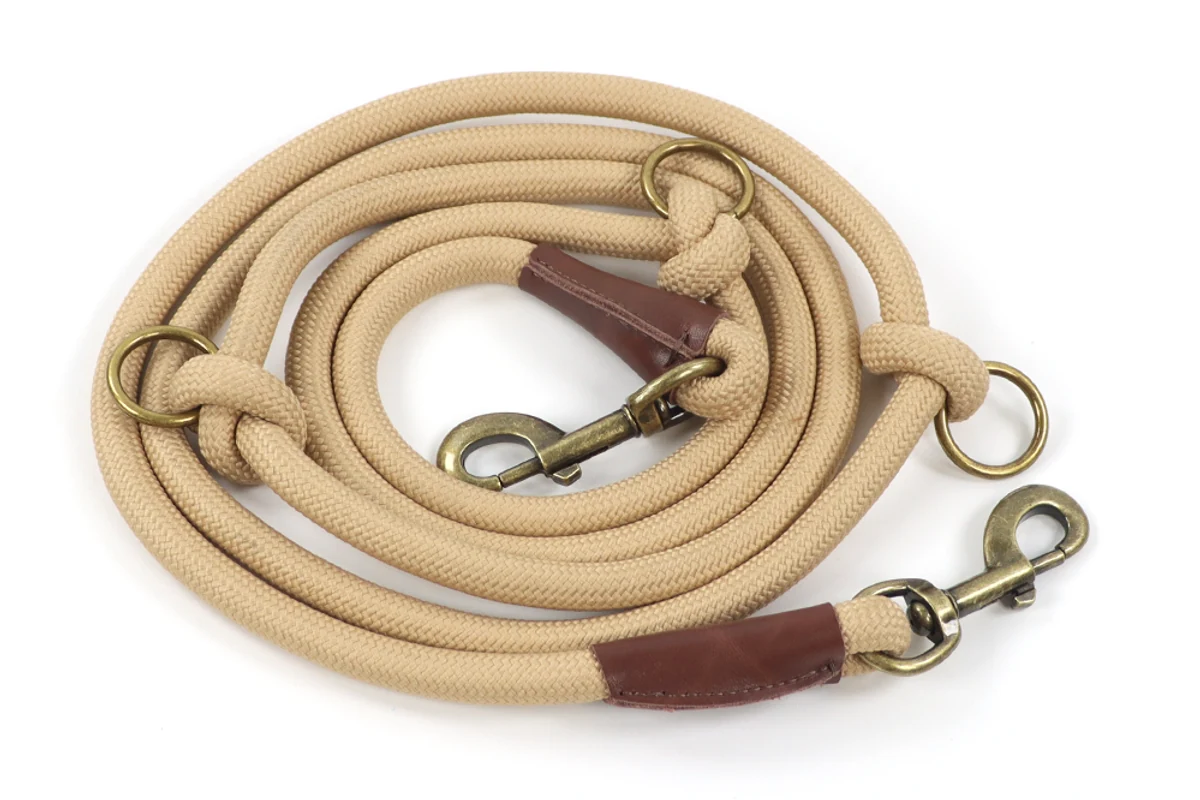
Metal laser marking offers a smaller branding position on suitable hardware. Supply a simplified logo option if your full design includes a long slogan or very small text. Identify the exact fitting and face to mark; a hook body, swivel and ring do not offer interchangeable marking areas.
Trotec’s materials guidance distinguishes metals and surface treatments when discussing laser processing. For a leash fitting, that means the metal, coating and proposed marking process need to be assessed together; similar-looking hardware may not produce the same result.
Approve the mark on the specified component and finish. Keep its location clear of moving or mating surfaces unless the component and process have been reviewed for that position. The purpose is to confirm a workable brand detail, not to change a fitting's functional geometry to make the logo fit.
Prepare Artwork at the Finished Size
Send the original editable artwork if available, plus a reference image showing how the logo should look. Ask which file format the selected process needs. If you only have a low-resolution image, flag that at the start so artwork preparation can be discussed before sampling.
Include the proposed width and height, text, colors and orientation. Mark any details that must remain legible, such as a small word beneath the brand name. Where text may need to be outlined or artwork simplified for production, request a proof of that version rather than assuming the source file will reproduce unchanged.
For example, if a full logo becomes unreadable in a small hardware area, compare a symbol-only mark there with the full name on a label or pack. Treat this as a proposed design choice for your approval. Do not silently remove text or substitute a different brand mark.
The quote should identify the method, size, location, colors, number of branded positions and quantity. Our standard MOQ is 50 pieces, but the branding process and style/color combination can require a different quantity. Ask for the minimum and any artwork or setup charges for your actual design; a basic leash MOQ does not settle those details.
Approve the Logo on a Physical Sample
A digital proof confirms the intended layout. The physical sample lets you review that layout on the actual surface and assembled leash. Check both before treating the branding as approved for production.
- Readability and color: Inspect the smallest details at normal viewing size and compare colors against the agreed reference.
- Position and direction: Check the distance from seams or fittings, which side is branded and how a repeated design begins and ends.
- Finish and handling: Review print edges, label attachment, stitching or metal contrast, and feel the areas that contact the hand.
- Product compatibility: Check that the branding leaves the agreed adjustments, seams and hardware operation intact.
If you need a wash, rubbing, exposure or other durability claim, agree the relevant evaluation and acceptance criteria for the decorated product. The method name alone does not establish that claim. Keep the approved sample and written artwork revision linked so a later file change is not mistaken for the production reference.
Our sample development process includes free design and 3D previews. Existing and custom physical samples are quoted per project, with shipping charged separately. Discuss sample scope and any required evaluation before production begins.
Send a Clear Branding Brief
Your inquiry can be short, provided it connects the artwork to the product:
- Leash reference, material and color, with the intended logo position marked.
- Artwork file, desired finished size, colors, orientation and any repeated spacing.
- Preferred method, or two methods you would like us to assess.
- Quantity by version, plus any labels, tags or branded packaging required.
- Details to approve in the sample and any specific durability requirements.
If you are undecided, identify the priority: a long printed design, a small recognizable symbol, a separate label or a particular handle finish. That gives us a clearer basis for discussing options than choosing a process name without a location.
Key Takeaways
- Choose the logo location and actual surface before selecting a method.
- Check artwork at finished size, including folds, seams and repeat spacing.
- Confirm process compatibility, quantity and charges for the specific design.
- Approve the decorated sample; a process name is not a durability guarantee.
Logo Method Questions
Related Resources
- Custom Nylon Dog Leashes — discuss webbing surfaces, printing and textile branding options.
- Custom Rope Dog Leashes — discuss handle details, labels and suitable fittings.
- Sample Development — confirm the design and physical sample arrangements.
- Plan Your First Private-Label Dog Leash Order — put branding into the wider product brief.
Send your logo, a leash reference and estimated quantity. Mark the position you have in mind, and we can discuss suitable methods and the sample details to confirm.
Discuss Your Logo Design